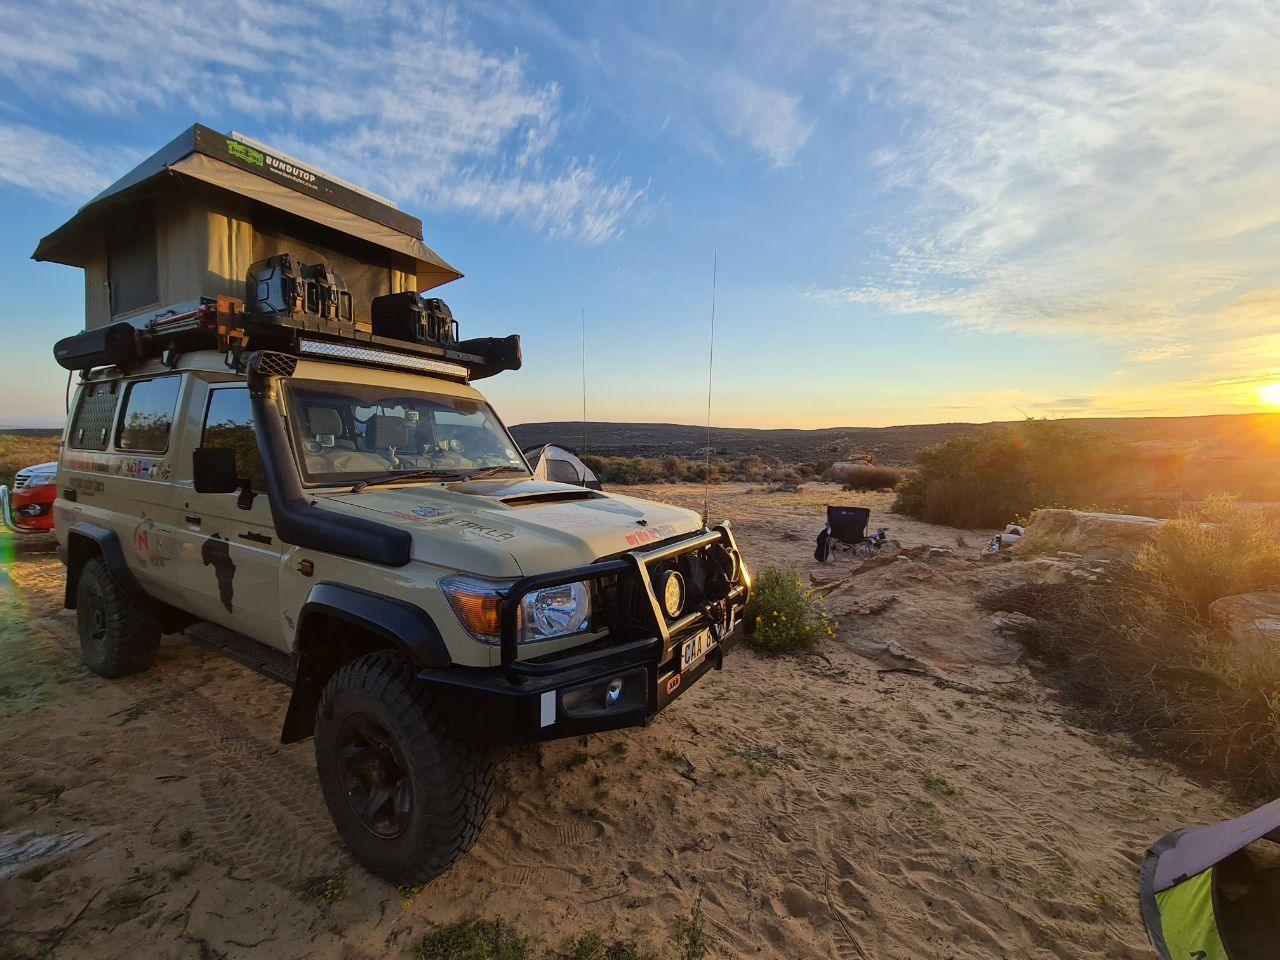
BunduAwn by BunduTec
BunduAwn by BunduTec
SKU: BA-2.45


BunduAwn by BunduTec
SKU: BA-2.45
$1,860.00
BunduAwn Awning - Available in 8" (96in), 9.6" (108in), and 10.5" (116in) - by Bundutec
The BunduAwn by Bundutec is one of the preferred Awnings in the market. Overlanders, off-road enthusiasts, and experienced campers tend to go for this particular awning thanks to the great shading, protection, and coverage that it can offer.
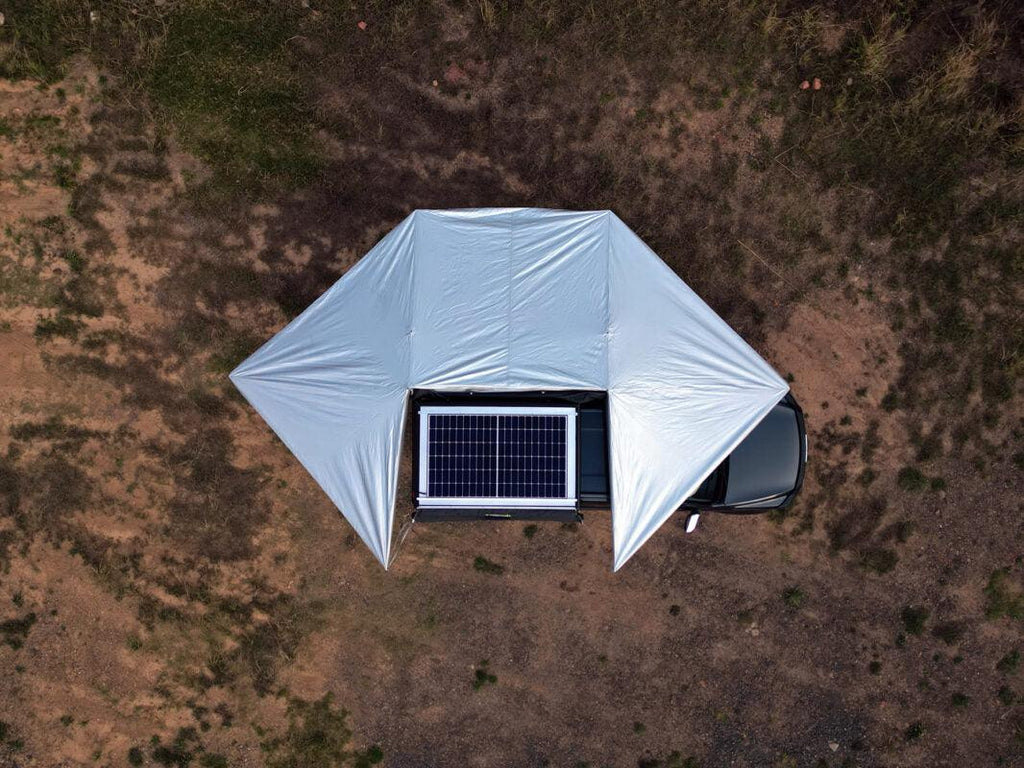
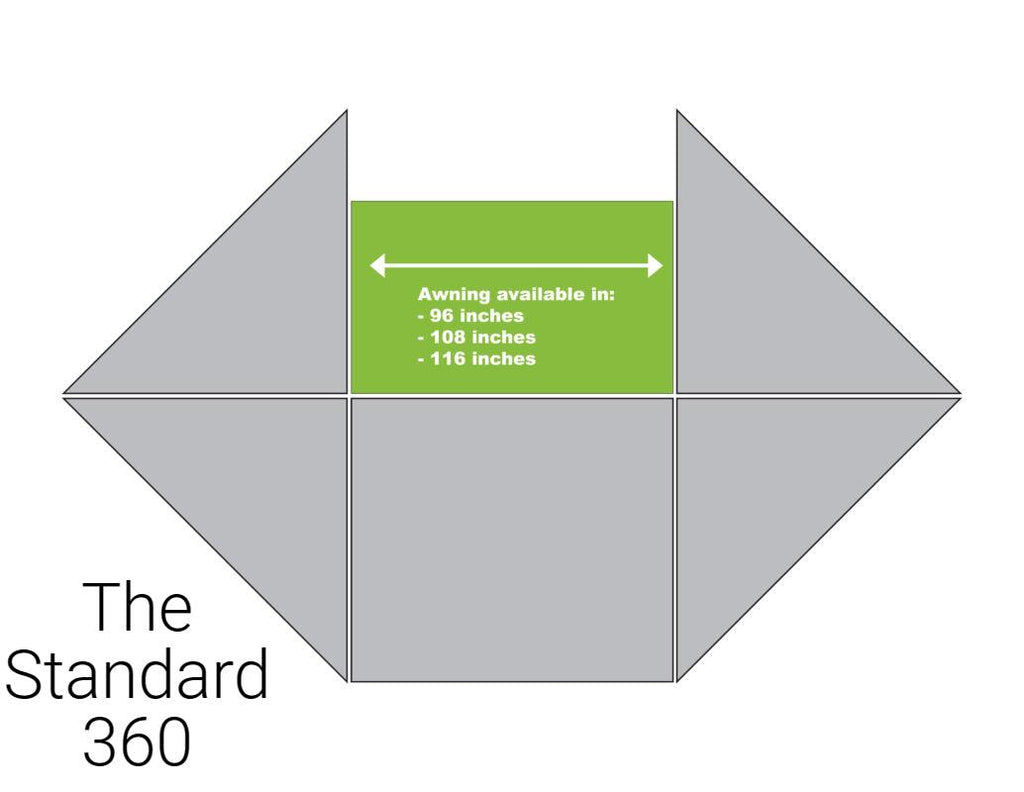
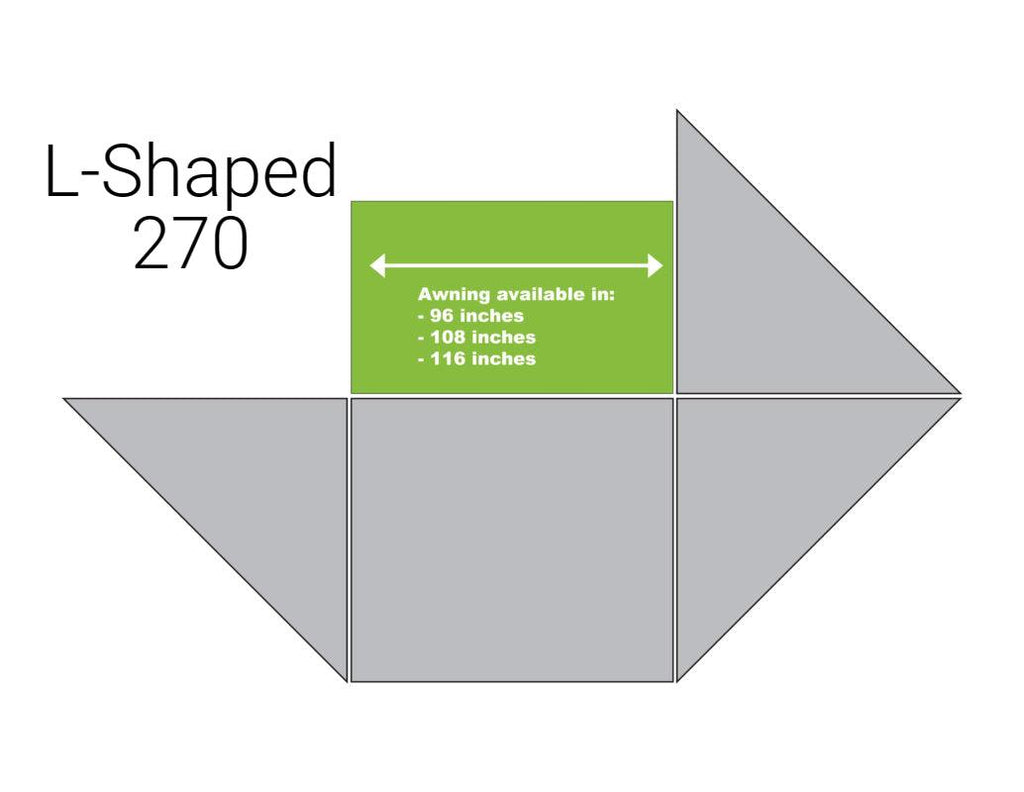
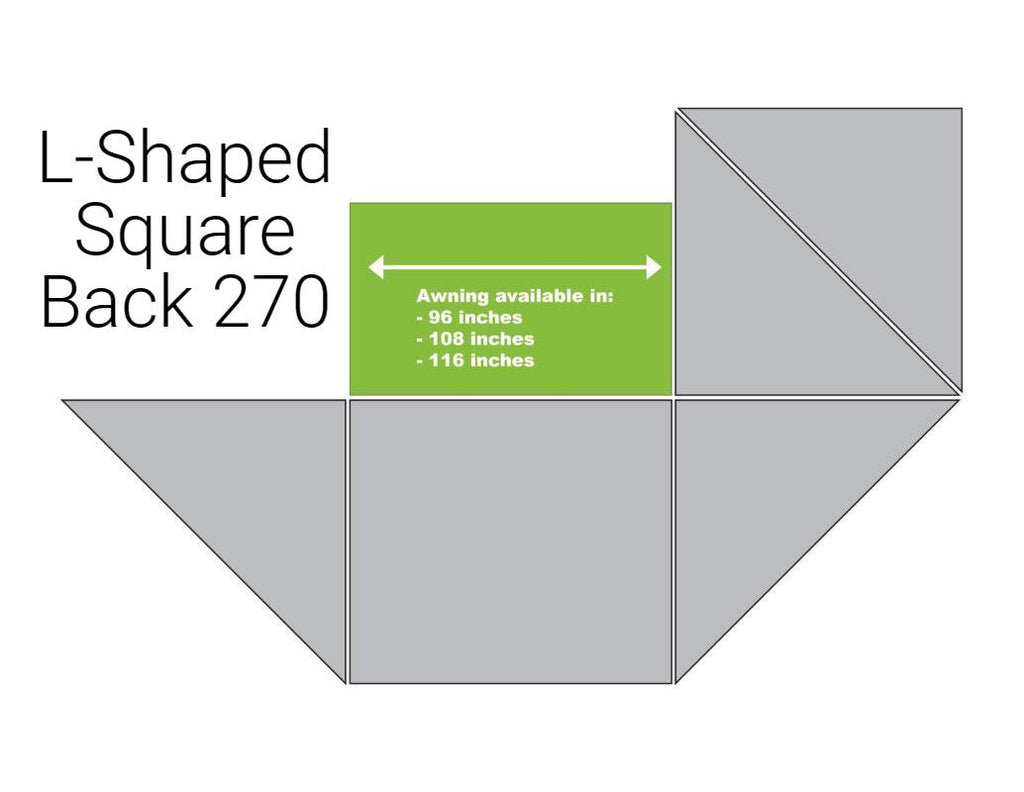
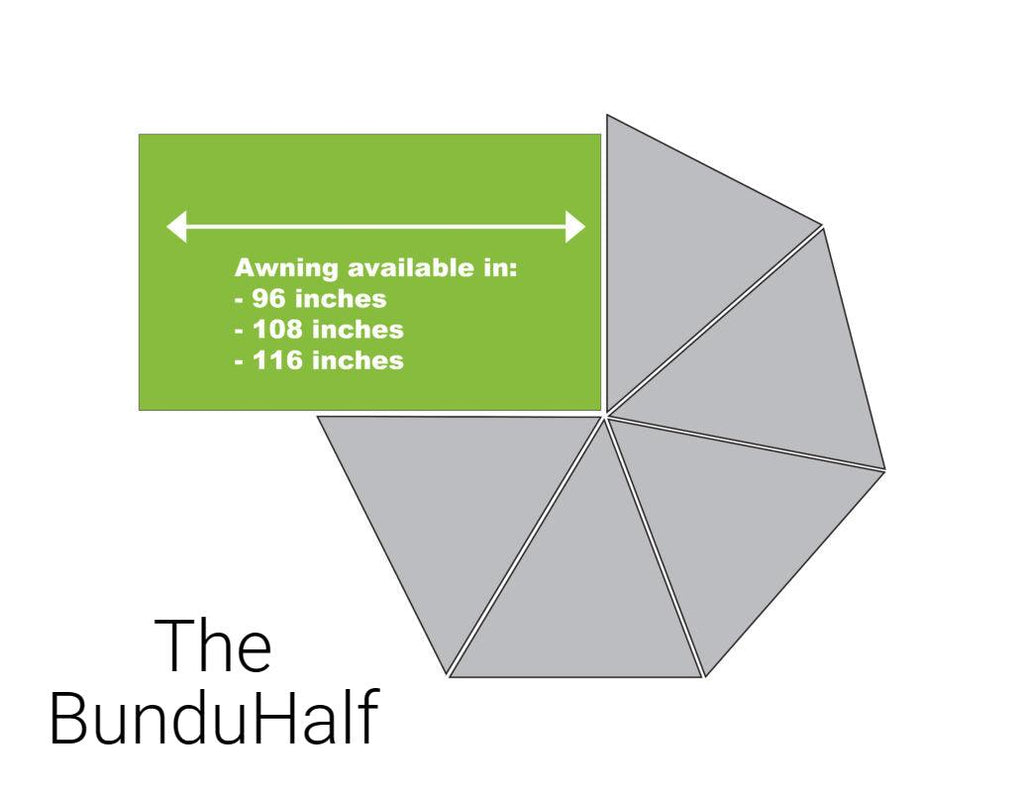
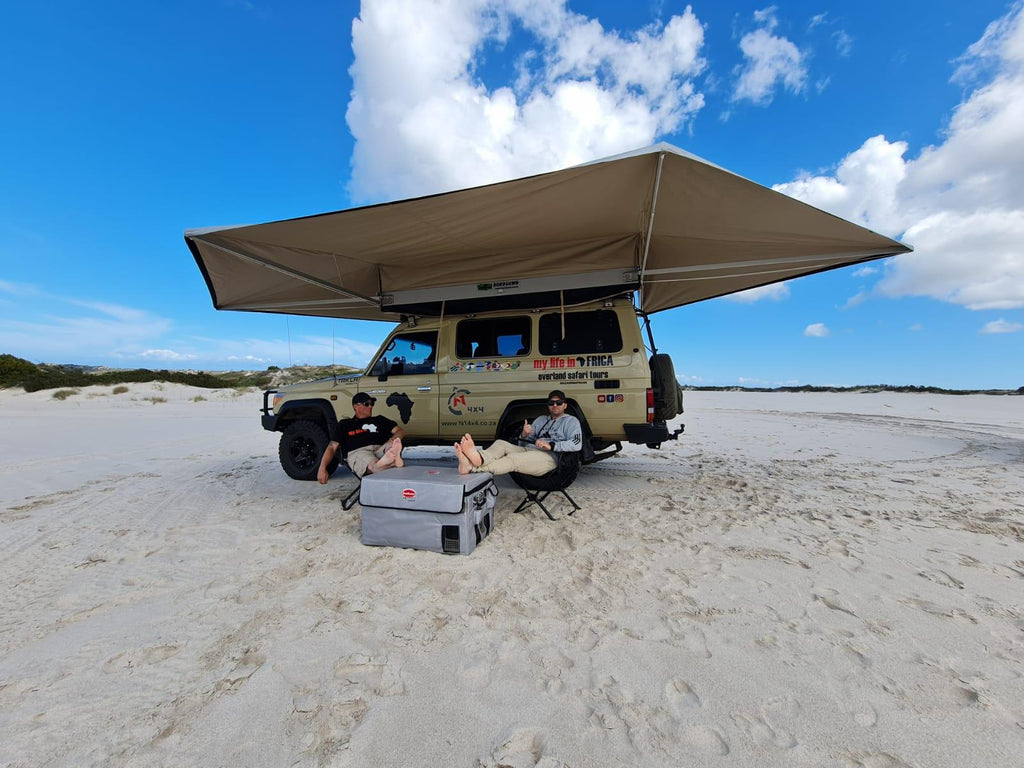
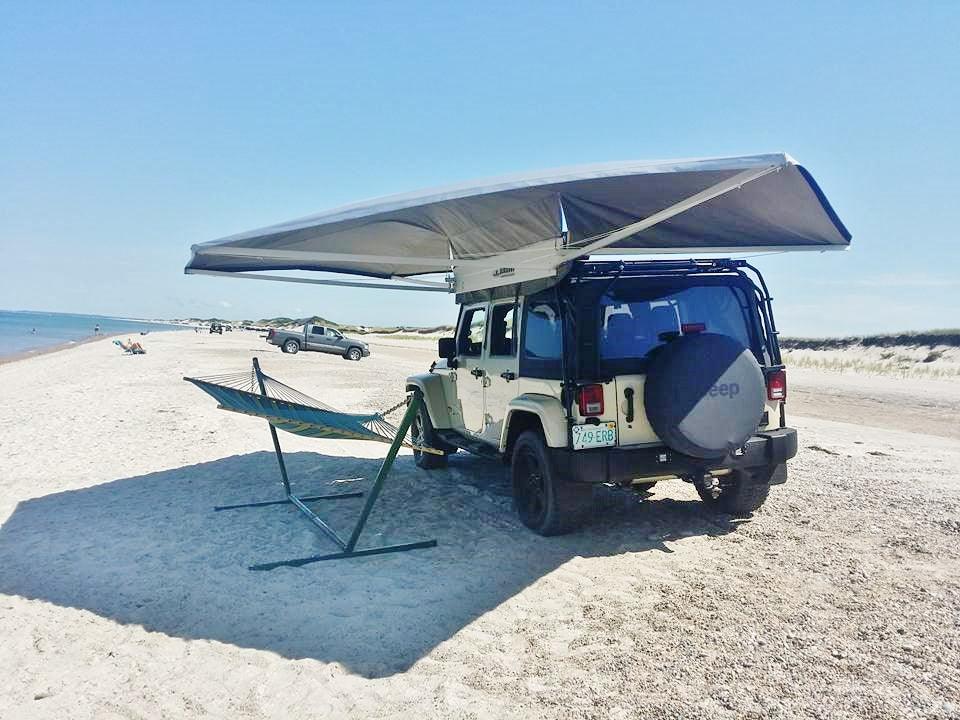
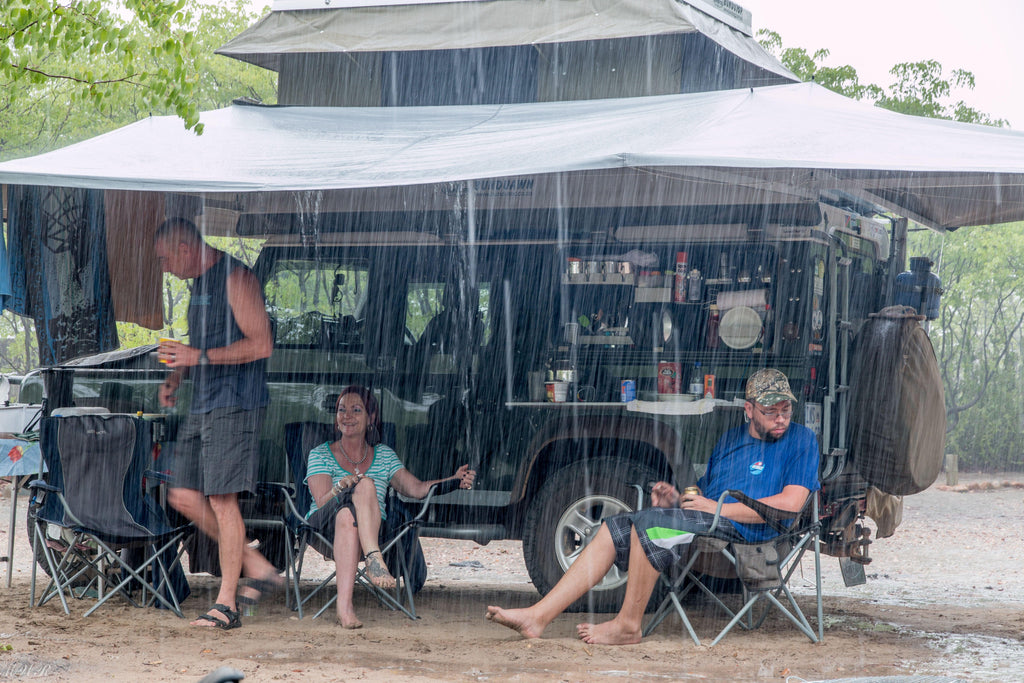
As seen in the images, this is an Awning that offers 360 degrees of coverage, which is also fully self-supported, self-deployed, and retracted tilt to help shed water and is made with the best Riptech material to last as long as possible. Not for nothing this awning comes with a 2-year warranty.
All Bundutec Products are imported from South Africa, but still, we offer Free Shipping!
Features:
- The materials are all made of aluminum
- 360 degrees of coverage
- Fully self-supported awning
- The zippered cover acts as a rain gutter to shed water away onto the roof
- Made with Riptech300 Material
- Aluminized resin to reflect heat away (Stay 11-15 degrees cooler under the awning)
- Self-deployed & retracted tilt to help shed water
- 2 Years Warranty
- 3 different sizes: 8' Length (Weighs 40 lbs), 9.6" Length (weighs 55 lbs), and 10.5" Length (Weighs 65 lbs).
- Size when closed: Around 10" in Height, around 6" in Width, and maybe an inch or two more than the size chosen in Length.
- The projection on each side is 7.6"
Installing the BunduAwn:
To mount the awning, it is advised that no more than 20 inches of unsupported overhang are left. The BunduAwn requires a minimum of 4 bolts, but preferably 6. It is recommended to pre-drill 2 holes into each end of the rack to help make the mounting smoother. Once the ends are pre-drilled to match the brackets, it is best to secure one end at a time, and then the drilling of the center holes and the tightening of the bolts can be done.
Other Facts:
- The awning has a rope on each of its arms that can be tied down to give additional support. Poles themselves are not needed, you are welcome to add them should you wish.
- There are also Side Panels available that can be bought separately.
- Each panel is attached to the awning via the Velcro strip already installed on your awning. Additionally, panels can be joined together by a zipper located on each end as well.
- The awning works with 6 arms which, when open, allows coverage of 360 degrees.
- The arms work in a triangular force which gives the awning more strength.
- When each arm is opened another small arm situated on top of the main arm pops up and provides additional height (14") to the slope of the roof to give better water drainage and prevent large pockets of water from collecting on top of your awning.
- The bag of the awning, when open, closes the gap between your vehicle or trailer and the awning to prevent water from running down the side of your vehicle. It is essentially a gutter while your awning is open.
Opening and Closing the BunduAwn:
- Opening the BunduAwn is quite simple, just unzip the awning and push the cover behind.
- Then disconnect the gator clip straps that secure the awning, and then pull the "J" hook strap, slowly, around the vehicle and secure it into place (you can use eye bolts if needed).
- Then go to the other side (the passenger side of the vehicle), and repeat the step above with the other "J" hook.
- With both "J" hooks secured, use straps to tighten the awning. Taunt them as much as possible, that way the structure will be secure
- To Close: only close 1 side at a time. Closing both sides at the same time will result in damage and will not be covered under warranty.
- Loosen the "J" hook from the attachment point on the driver's side, and walk the awning towards the passenger side. Then, on the passenger side, take the loose fabric closest to the awning's back plate, and fold it over the awning's arms that you will be swinging around (this will ensure you get the arms tight against the back plate and will fold better for travel).
- Once the step above is completed, return to the driver seat, loosen the "J" hook from the attachment point, and use it to swing this side of the awning around to lay flat against the other side which is already in place.
- Once the arms are against the back plate, fold the fabric that is remaining up into about 12" sections, and once it's folded, place it in line with the back plate, and use the gator clips and straps attached to the awning plate to secure the fabric in place.
- Once the fabric is secured in place pull the awning cover over and zip it shut.
- Watch the video for a better explanation.

